JAMS Sequence Job Task Builder
NOTE: DO NOT perform this on a production system if it is the first time that you have used JAMSElementEditor.
JAMS has a facility that allows developers to extend Execution Methods (EM) to add new functionality. Developers typically achieve this by extending either the PowerShell or Unix script EMs. These EMs then become available for traditional JAMS Jobs. The potential downside of simply extending scripts is that personnel may get access to the source code and make modifications that the system does not pick up.
In some situations, it would be preferable to have an EM that fits right into the Sequence Editor. This would allow the developer to use the familiar drag and drop technique of building a Sequence. The benefit of this approach is that developers can protect the code because they develop it outside of the JAMS desktop client.
In this blog we’re going to do just that using a tool that JAMS provides freely – the JAMSElementEditor.
Overview
We want to build a Sequence Task that we can use in many Sequences and that appears in the Sequence Editor as a definition that we can drag and drop. In our example we are going to create an integration to a popular data orchestration product, Airflow. Before we discuss building the integration and using JAMSElementEditor, let’s take a look at what the finished integration looks like:
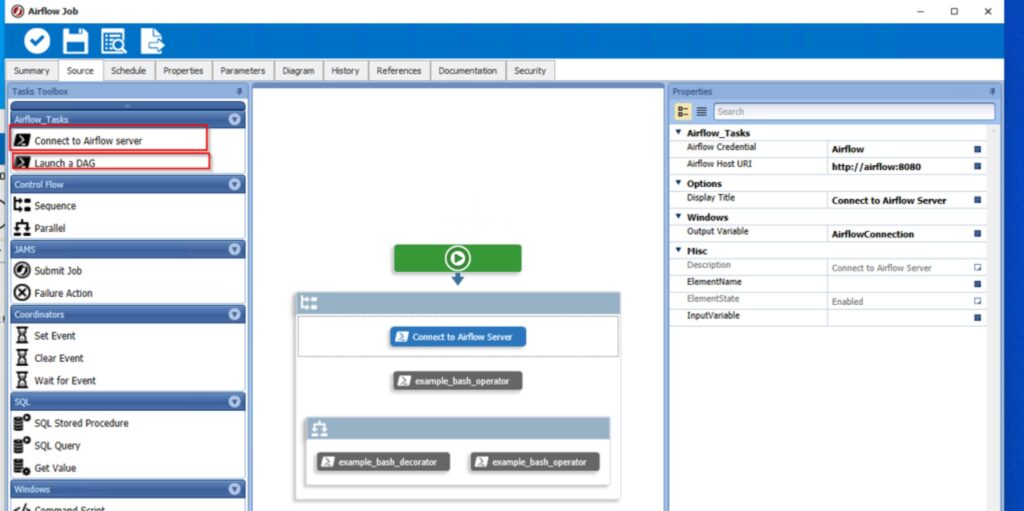
View of Airflow integration in Sequence editor
As you can see, we have a new menu labelled Airflow_Tasks on the left and on the right the properties panel displays the properties for the Connect to Airflow server Task.
Source code
All the source JSON files and PowerShell scripts are available for download at ???.
Create a project
The first thing we need to do is create a project that we can manage through the JAMSElementEditor.
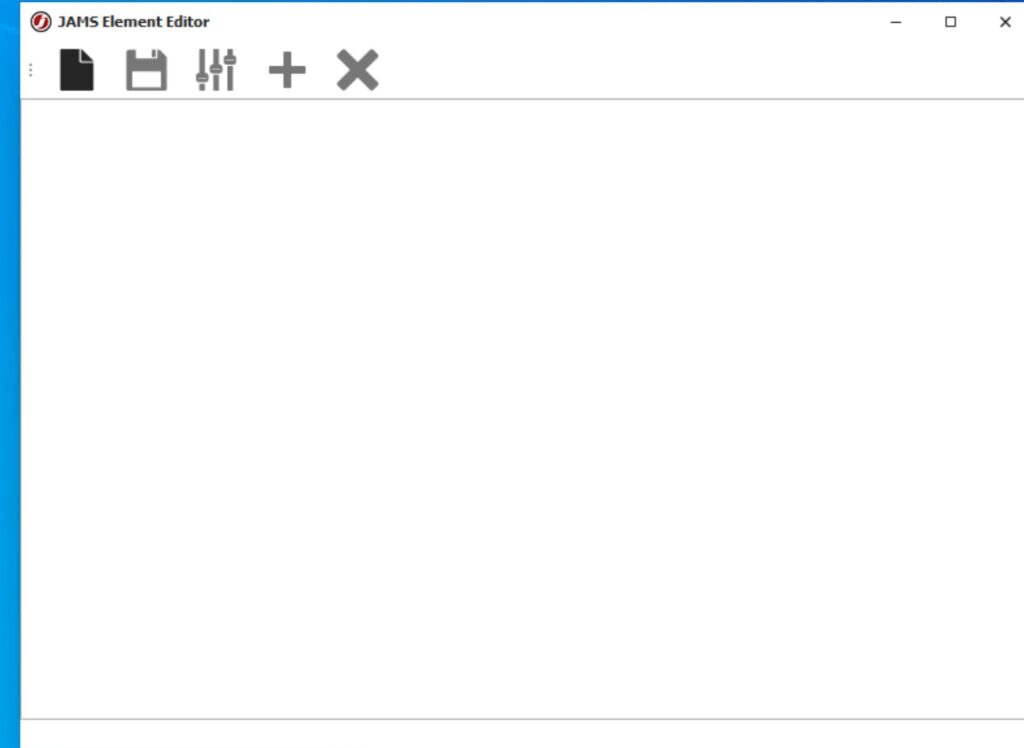
Navigate to JAMS_INSTALL_FOLDER\Client and double click on JAMSElementEditor. You will see the following screen:
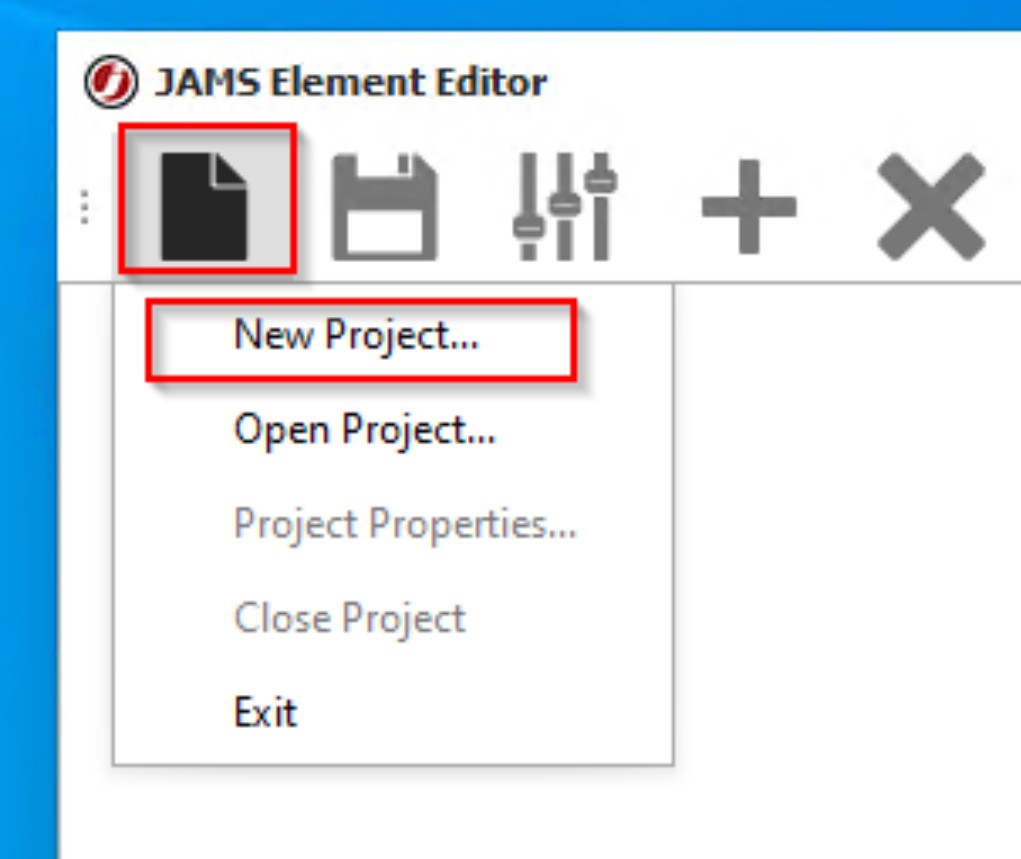
Click the project icon and select New Project …
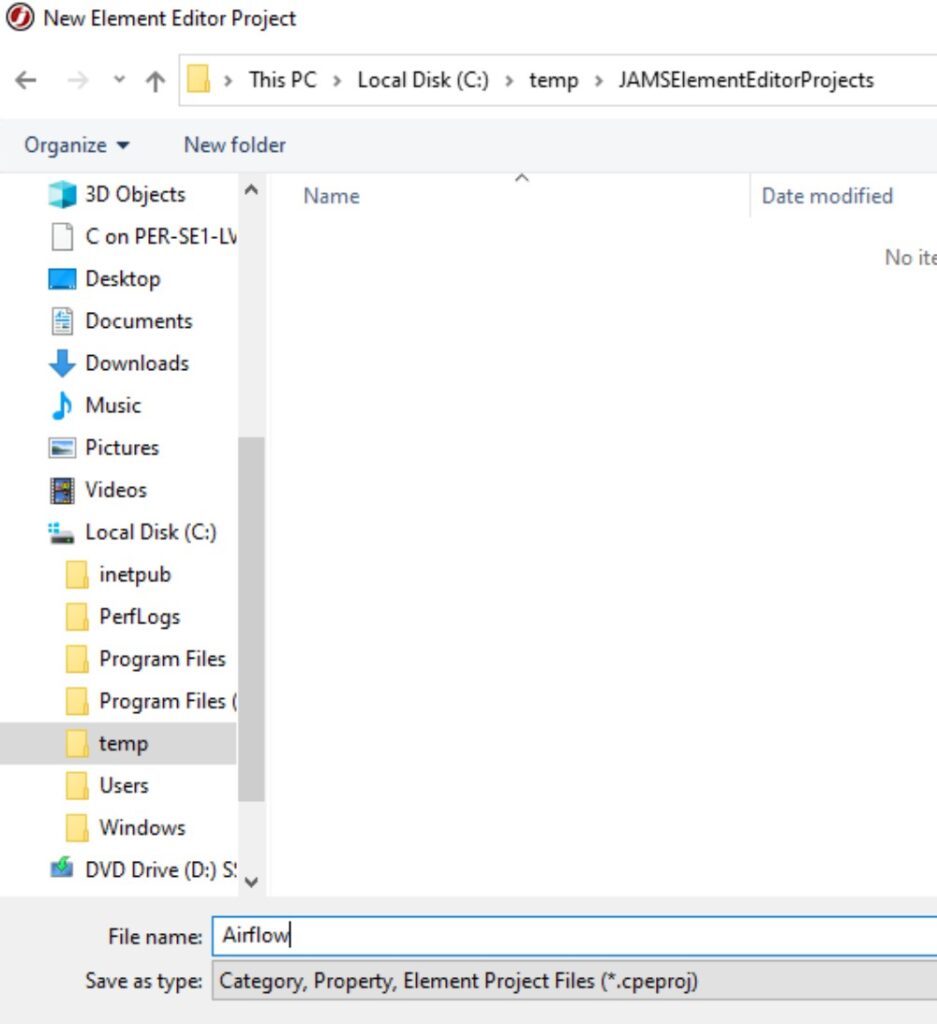
Create a project in a suitable folder – save it as Airflow.
Provide names for the Category, Property and Element filenames. You will notice that these files all have the extension .json. JAMS stores its definitions in the JAMS database as JSON data. In theory one could directly edit these files, but it’s much easier to use JAMSElementEditor.
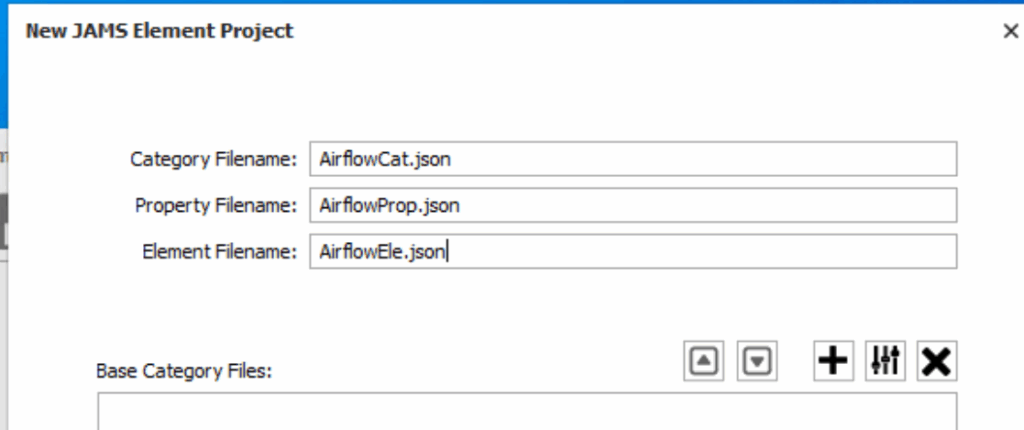
Don’t worry about the other fields. We are now dropped into creation/editing mode. Start working from left to right: Categories → Properties → Elements
Category
This is where we specify the menu name that we want to appear in the JAMS Sequence Editor. You will notice that there is a ‘+’ icon on the menu bar – click it and add the Category:

Click ok to save it.
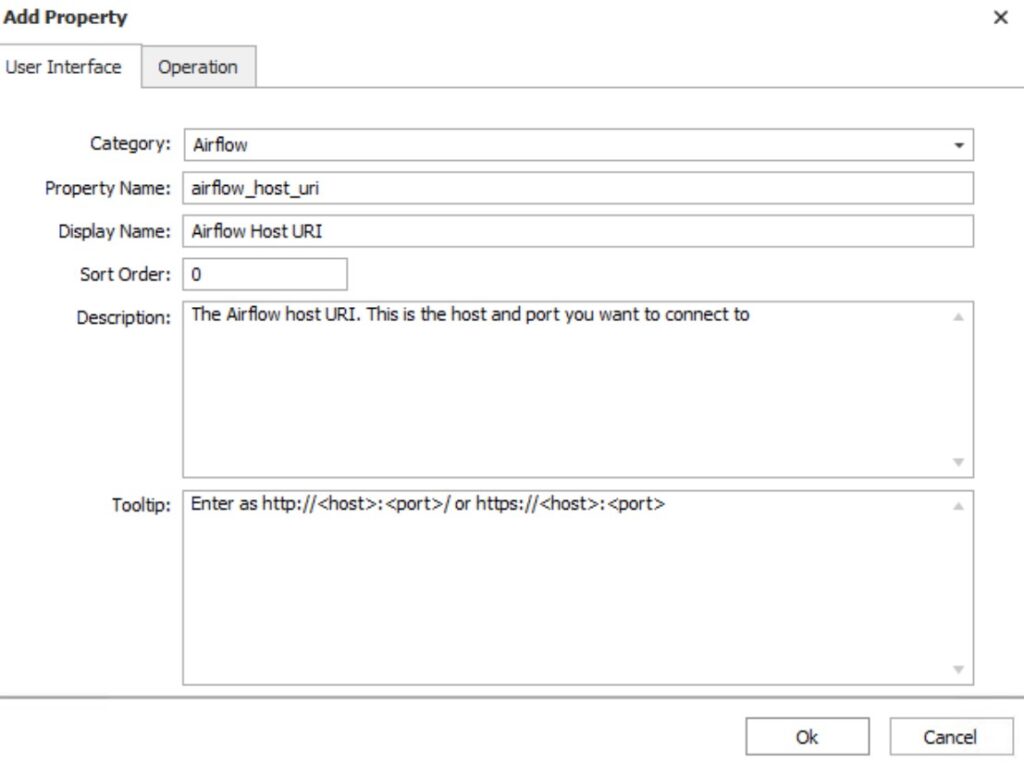
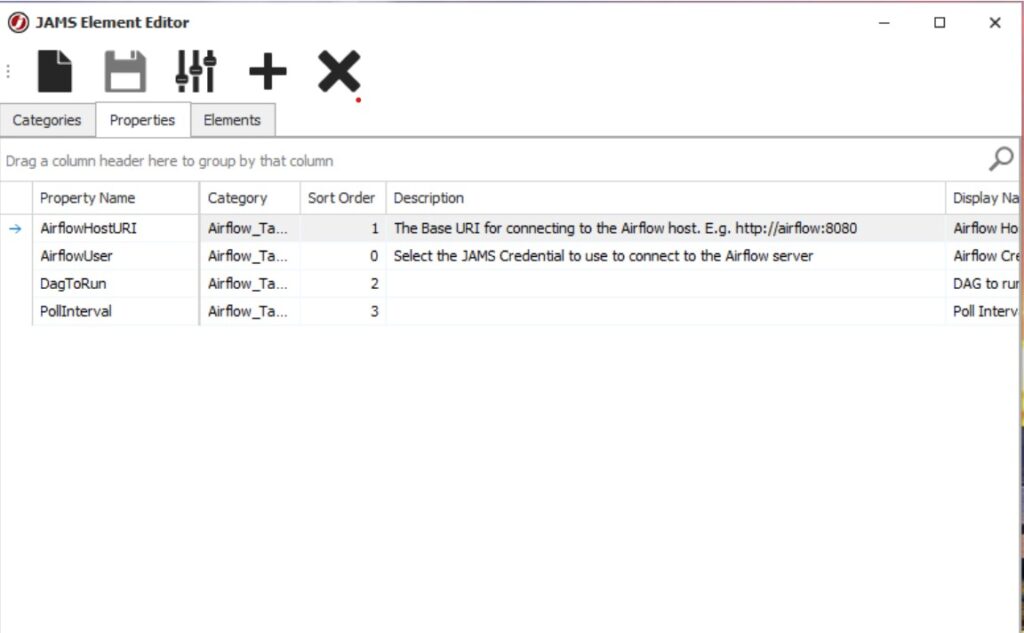
Properties
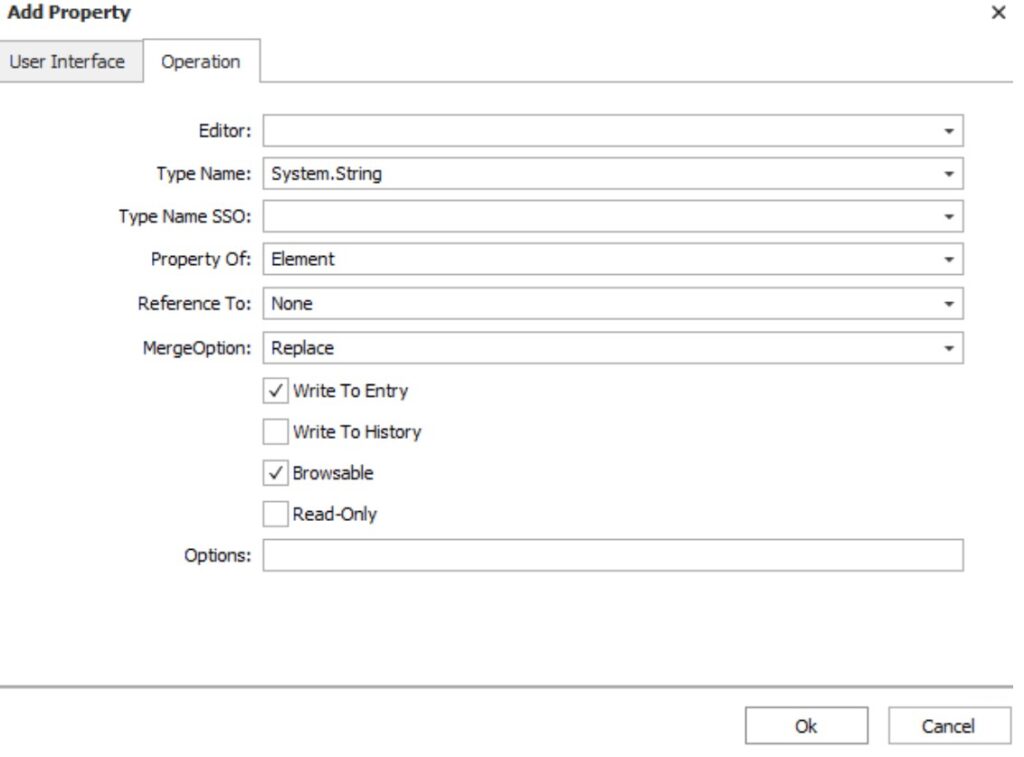
The next tab is the Properties tab. This is where we define the properties that we want to appear on the Properties sheet for a specific element. There are two tabs associated with a Property. On the second tab, Operation, only select the checkboxes as illustrated below.
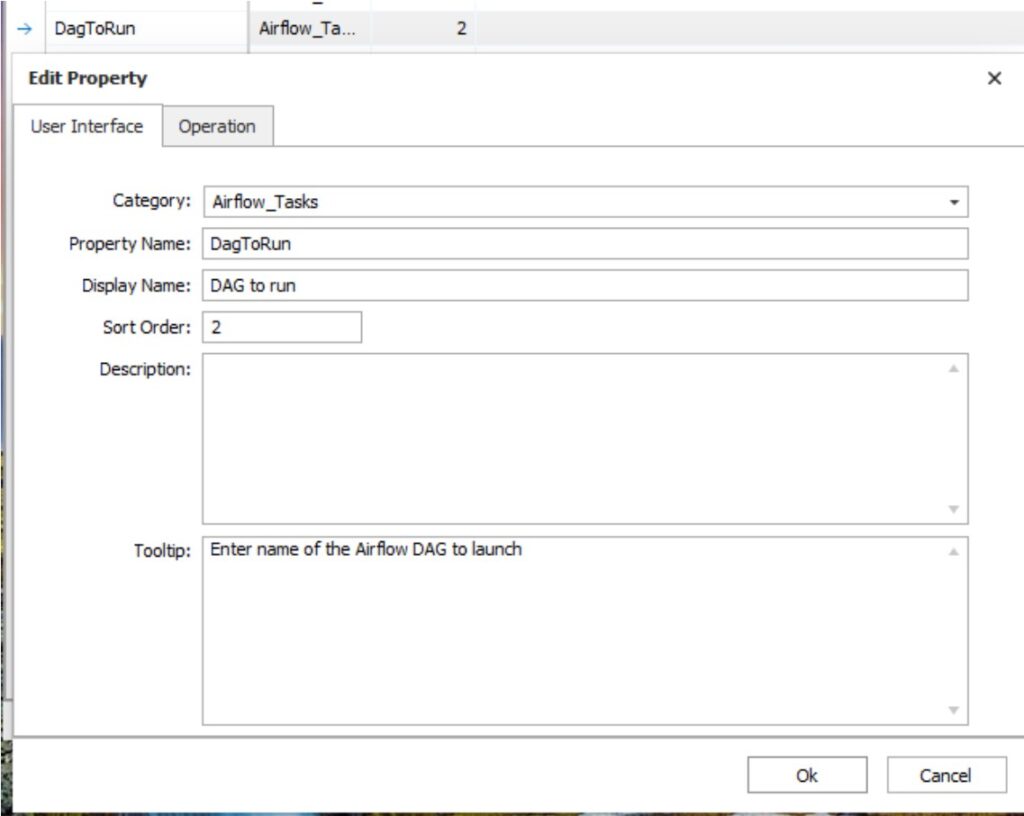
Create another Property for the DAG that you want to run. Luckily for us we don’t have to be experts in DAGs because we only want to schedule them from JAMS. Wikipedia provides an in-depth article on DAGs.

Finally, add a property that allows the Sequence developer to select from a JAMS Credential. We use a JAMS Credential to connect to the Airflow server; this allows us to keep the account management in a central location and utilize the functionality of JAMS.
For the Credential we do need to populate the Operation Tab. Doing this gives us the ability to have the Sequence Editor query JAMS Credentials for us and populate a drop down so the user can select the appropriate Credential.


Elements
The real power with JAMSElementEditor comes in the Elements tab. This is where we build the PowerShell script that will drive our integration.
In our example we want to have one Sequence Task that connects to our Airflow server. This Task will then store the authToken returned by the connection endpoint. We can then reuse the authToken in subsequent interactions with the Airflow REST API. We do this to avoid having to login each time we want to interact with the RESTful API.
When you click on the ‘+’ icon to add an Element select the PowerShell Task. This will pre-fill the required fields, thus minimizing the amount of work you need to do. You can concentrate on your PowerShell script.
Let’s examine the connection to the Airflow server.
First we define the User interface – this is what the user sees in the Sequence Editor.

The Operation tab is where we tell the Sequence engine what type of Task we are building; in this case, and for most of our use-cases, it will be a PowerShell operation.

The Properties tab is where we define the properties that we want to use in this particular task. In this case the AirflowHostURI and the AirflowUser properties. We also identify the same Parameters as attributes of PSScriptParams. This ensures that the system passes the parameters into the PowerShell script.

Finally, we have to implement our PowerShell script. The following screen shot only shows a snapshot of the code. Download the source code for the full implementation.

Once we have written the code we need to upload our project into the JAMS database.
NOTE: DO NOT perform this on a production system if it is the first time that you have used JAMSElementEditor.
Uploading our project into JAMS
The steps to upload a project into the JAMS database are reasonably straightforward.
- Run JAMSDBA.exe as Administrator
- We are going to use the LOAD command. Typing HELP will show the following – the options we are going to use have been highlighted.

Because of dependencies we need to execute the LOAD command in the following order:
- LOAD /CATEGORIES=”Path to Category.json”

- LOAD /PROPERTIES=”Path to Properties.json”
- LOAD /ELEMENTTYPES=”Path to Elements.json”
Testing
Launch the JAMS client and create a Sequence. You should now see your Tasks under the “Tasks Toolbox” in the Sequence Editor/Designer.
Ready to build a custom Sequence Task that integrates with Airflow?
See how JAMS handles the complex workflows your business demands