Paladin is a powerful event monitoring application that integrates with any machine and node throughout your organization’s network. With Paladin, you can quickly monitor the health of your SQL databases, Hyper-V, JAMS Server and Database, Web Services, DNS, and FTP availability from one convenient place.
In addition, Paladin includes Sentinel, an executable that can sniff out every machine on your network, providing you with a comprehensive metrics report. With Sentinel, you can designate all network components or a subset as a “monitored site” and define the threshold that triggers an alert (text, email and/or phone call) to the appropriate staff member or team. For example, Paladin can be set to trigger an alert if a server is running at or below 80% efficiency or if a JAMS Job fails 3 times in a row. In other words, Paladin can be configured to alert users when any preconceived point of failure or concern is detected anywhere on your network.
Use this guide to get specific details on how to download, register and configure Paladin to define a customized and effective monitoring environment for your organization.
Installing JAMS and Paladin
To get started, you will need to download and install JAMS. After confirming the Paladin license purchase with your account representative, download the production ready JAMS installer from the support site at: JAMS Product Download.
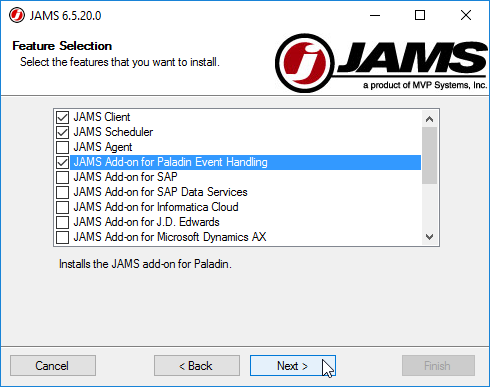
Next, Install JAMS and make sure that the JAMS Add-on for Paladin Event Handling has been installed. If not, re-run the installer and enable the checkbox for the Paladin Add-on as shown in the screenshot below. Note that unchecking any previously installed components will uninstall those items. For a detailed information on how to install JAMS, please refer to the JAMS Installation Guide.
 |
NOTE: Un Checking components in the Feature Selection step will uninstall those components. |
Registering Paladin
As a part of the purchase your company profile is created by the account representative, triggering an email invitation to register Paladin.
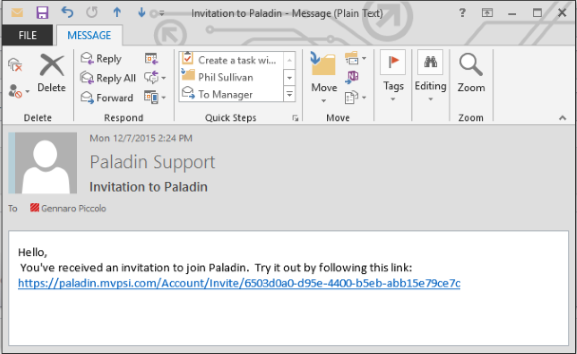
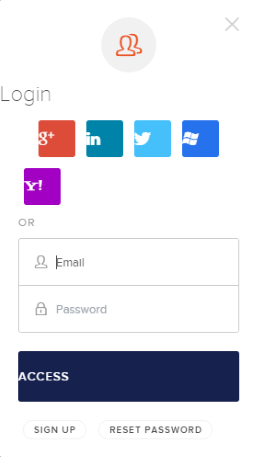
Click on the link to access the Paladin site. Once the Register New Account page opens click on the Choose button to select a login method.
|
Note: If prompted to use a certificate, click Cancel; a certificate is not needed to enter the Paladin website. |
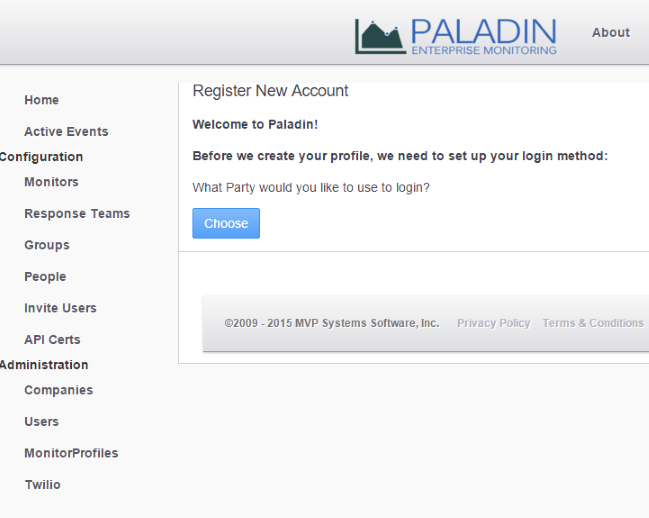
From the dialog, choose a login method using one of the available social networking credentials or click the Sign Up button to create an account using your own company’s email.
|
Note: If the “Sign Up” option is chosen it will be necessary to verify the corresponding email address. An email similar to the one shown below will be sent. From the email click the Confirm my account link to verify the email address. |

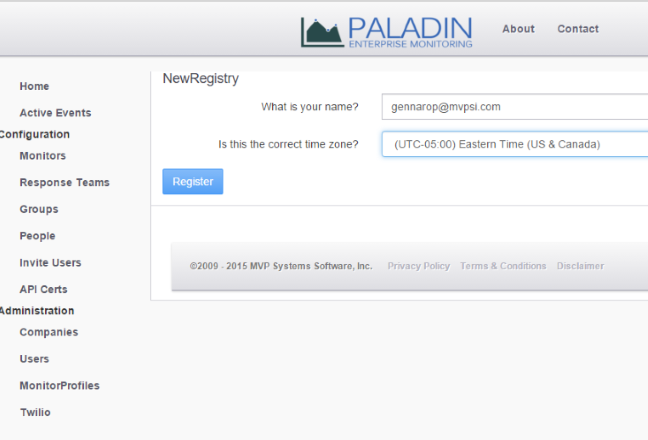
Once the confirmation link has been selected, the following page confirms the Paladin registration.

Now that the credentials have been assigned, select your local time zone and click the Register button. The name property should populate automatically with the appropriate email address.
Setting up a Paladin Profile
Details
The next screen opens with a prompt to create the profile for the person designated to receive Paladin alerts.
 |
Important: make sure the On Duty checkbox is enabled in order to receive Paladin alerts. |
Notification Methods
Select the Add Notification Method button and choose one of the available Notification Types from the drop down list. Enter the phone number in the adjacent property.
Click Save to update the profile.

Configuring the Response Team
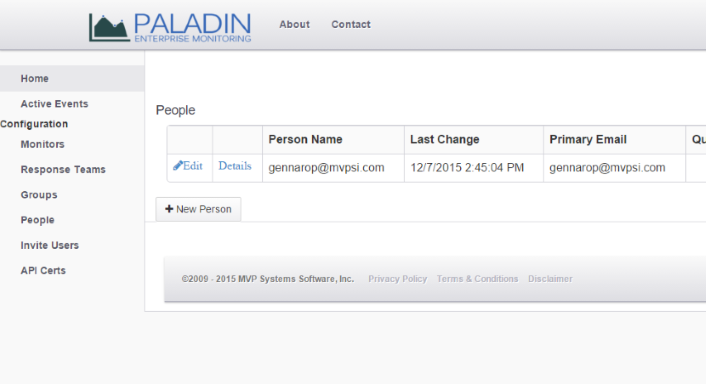
To enable the alert, a Response Team must be associated with the person (s) receiving the notification. To start, select the People link then click Edit to open the people profile and enter, edit or remove individuals associated with a Response Team.
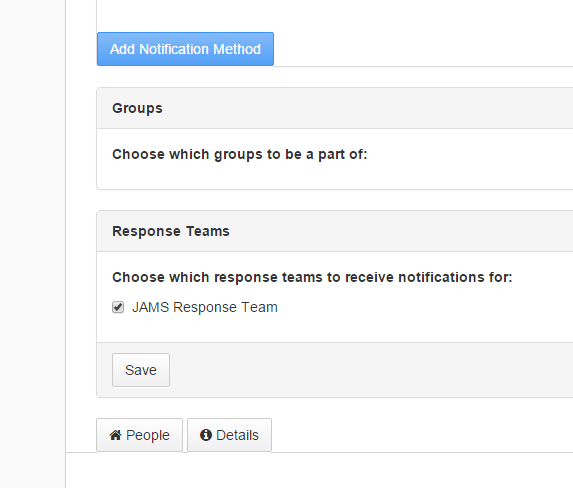
Associate the appropriate Response Teams(s) with the profile by enabling the checkbox as shown above.
Click the Save button to update the profile.
The Response Team must be configured in order to properly set the Notification Interval, the Notification Limit, and (optionally) the Escalate To Response Team properties.
To do that, select the Response Teams link on the left menu and choose the response team that was assigned in the previous step.
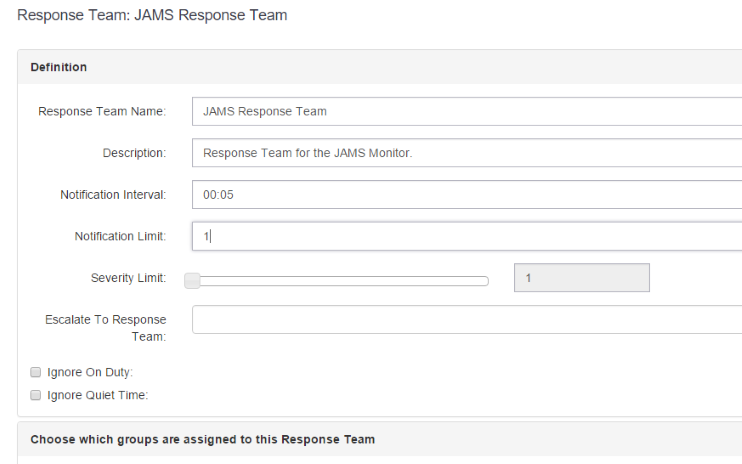
Next, set the Notification Interval and the Notification Limit. The Notification Interval is the time between when each notifications can occur, and the Notification Limit is the maximum number of notifications that can be sent for each alert.
If the Ignore On Duty checkbox is enabled this forces anyone who is a member of the response team to remain on duty, overriding any setting on an individual team member’s profile.
When the Ignore Quiet Time checkbox is enabled, the associated response team ignores any quiet time setting that had been defined by any individuals assigned to this Response Team.
Monitors
To enable Paladin to listen for an incoming alert from JAMS a monitor must first be created. To get started, select the Monitors link on the left and choose the New Monitor button.

Fill out the information requested in the Create New Monitor section; the name of the monitor will be referenced in the JAMS Job properties later. Enter JAMS in the Monitor Type property. If a Response Team has not already been created, the existing default, “JAMS Response Team” can be used.
Next, choose an Initial Severity level using the slider property, (select 1 for the lowest and 10 for highest). Please note, multiple monitors and severities can be used to allow specific people to respond.
Enter an Escalation Interval, e.g., 00:05 for 5 minutes.
|
Note: If no escalation interval is selected, notification intervals occur without any delay. |

Finally, select the Save button to complete the Monitor settings.

API Certificate Request
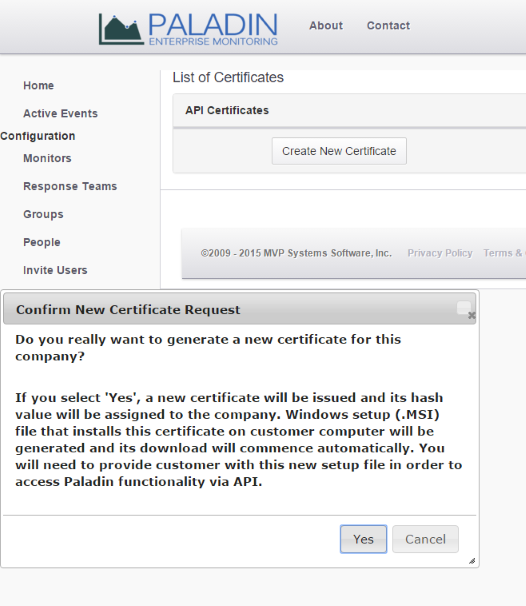
Next, in order for JAMS to communicate with Paladin an API Certificate must be generated. To get started, select the API Certs link on the left menu. On the List of Certificates page click the Create New Certificate button and choose “Yes” from the prompt as shown in the screenshot below.
After this action, an MSI installer file is generated. This file must then be installed on the server where the JAMS application is located.
Run the MSI as an admin and then click through the prompts to complete the API installation process. Make sure to use all of the defaults to complete the Paladin configuration.
Setting up the Paladin Alert in JAMS
Now, let’s move over to JAMS to set up the alerts. First, launch the JAMS Client and open the definition for the Job you wish to add a Paladin alert. Click on the Properties tab, then access the Notify Names section.
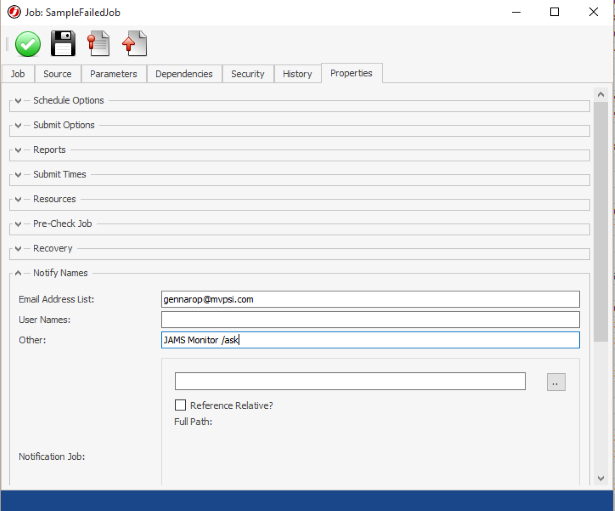
Enter the name of the Monitor that was created in the previous step and append " /ask" as shown in the screenshot above. Then save and close the Job.
Now, whenever this Job fails it will signal Paladin to send an alert.
PaladinAskForResponse Job
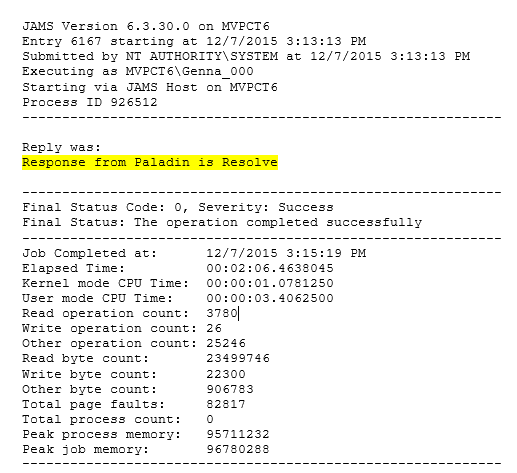
A “PaladinAskForResponse” job will then execute and wait for the response from the person receiving the alert.
Once a response has been made, the PaladinAskForResponse job will complete. The response can be viewed in the JAMS log file as shown in the example below.